 |
The Text Area element is ideal for long comments. It can also be used to for sentiment analysis. |
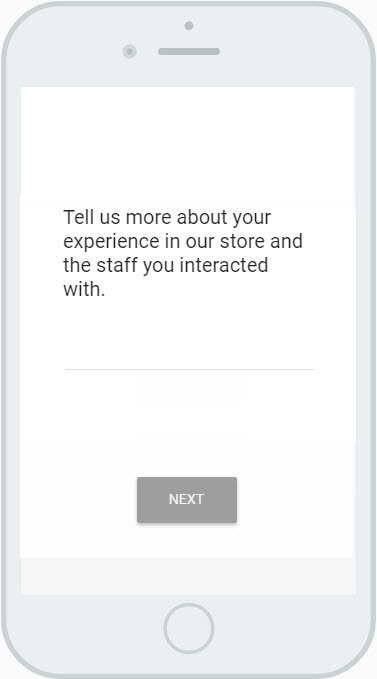
Example of a Text Area Element
Settings
- Enter the element Label; this is displayed to the respondent on the survey.
- [A] Use piped text to insert custom/dynamic content into a question label.
- Set the size of the text area by entering the number of Rows you want displayed on the form. This does not limit the number of characters that can be entered, it only changes the way the question is displayed.
- In the Advanced Options, you can:
- Uncheck Required if the element is optional; when this setting is not checked the question will be labelled as Optional on the survey. The Required setting will be turned on, by default.
- Set the element to Hide from reporting; when this setting is applied, only users with View Hidden Fields access will be able to view the data that is collected.
- Check the Analyze sentiment of response setting if you want the comments entered by respondents to be analyzed in order to see sentiment labels on the individual records. You can also use sentiment analysis in the Word Cloud chart type on a custom dashboard.
- Customize placeholder text, which is displayed in the text field on the question to provide respondents with additional instruction or clarification on the details they should enter into the field.
- Insert help text, which is displayed below the question label, and can also be used to provide additional instructions or clarification.
- Enable smart prompt if you would like to prompt respondents when they enter specific keywords into the text field.
- Change the Element Span (i.e. width of the element) on your form. Be sure to consider how respondents will be viewing the survey, and how modified spans might impact the layout of the elements on different devices.
- Add JavaScript to trigger a behavior or validation on the form, based on certain events tied to the survey or a question.
- Check the Create Another checkbox if you would like to add another element of this type after you save the one you are creating; it will be positioned immediately after the element you've just added.
Click on Save when you have configured the settings for the element.
